
Creating a Custom Jupyter KernelSpec
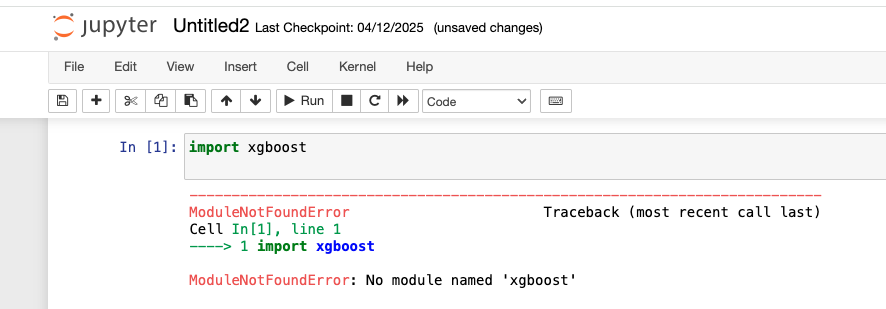
If you’re working with Jupyter notebooks and want to keep your machine learning environments clean and consistent, using a custom Jupyter KernelSpec is a great solution. In this post, I’ll walk you through how to create a Jupyter kernel specifically configured for xgboost using pipenv.
Using pipenv adds the benefit of managing dependencies with a Pipfile and Pipfile.lock, giving you a more reproducible setup across systems and collaborators.
Why Use a Custom KernelSpec with Pipenv?
- Keep dependencies organized per project
- Avoid package version conflicts
- Easily switch between different environments in Jupyter
- Share your environment using
PipfileandPipfile.lock
Step 1: Create a Pipenv Environment
Start by navigating to your project folder:
$ mkdir xgboost-notebook
$ cd xgboost-notebook
$ pipenv --python 3.11
Install the necessary packages:
$ pipenv install ipykernel xgboost pandas numpy matplotlib
Step 2: Register the Kernel with Jupyter
Now activate the environment:
$ pipenv shell
Then register the environment as a new Jupyter kernel:
$ python -m ipykernel install --user --name xgboost-pipenv --display-name "Python (XGBoost Pipenv)"
This command tells Jupyter to recognize your pipenv environment as a kernel option.
Step 3: Verify the Kernel Installation
Check that your new kernel is listed:
$ jupyter kernelspec list
You should see something like this:
Available kernels:
  xgboost-pipenv        /Users/james/Library/Jupyter/kernels/xgboost-pipenv
  chatgpt               /Users/james/Library/Jupyter/kernels/chatgpt
  dapp_example          /Users/james/Library/Jupyter/kernels/dapp_example
  ganache_example       /Users/james/Library/Jupyter/kernels/ganache_example
  llm_practice          /Users/james/Library/Jupyter/kernels/llm_practice
  python3               /Users/james/Library/Jupyter/kernels/python3
  survey_utl            /Users/james/Library/Jupyter/kernels/survey_utl
Step 4: Launch Jupyter Notebook
While still in your pipenv shell, start Jupyter:
$ jupyter notebook
From the notebook interface, click New and select Python (XGBoost Pipenv) as the kernel.
Step 5: Share Your Environment
Pipenv makes it easy to share your environment. Simply send your Pipfile and Pipfile.lock to a collaborator. They can recreate it with:
$ pipenv install
$ pipenv shell
$ python -m ipykernel install --user --name xgboost-pipenv --display-name "Python (XGBoost Pipenv)"
Final Thoughts
Using pipenv alongside Jupyter’s KernelSpec system gives you clean, project specific Python environments that integrate smoothly into your notebook workflow. For data science projects using XGBoost, this ensures you’re not polluting your global environment or accidentally breaking other projects. It’s fast, reproducible, and keeps your work organized.